DIY full-spectrum mod on an old DSLR
Mon, 05 Jan 2026 12:00:00 -0800Many years ago, I saw a surreal photo of a sunny curving and sloping tree-lined street, which looked as real and happy as anything except that the trees, grass, and shrubs were all shades of impossibly vibrant pastel yellow. Allegedly this was an infrared photo done using a full-spectrum modded camera. The idea of exploring this technique myself simmered in the back of my mind until late 2024 when I finally set about trying it.
After reading and watching a few existing guides about how to do the full-spectrum mod, I felt confident enough to try. I visited my local photography store and bought a used Canon EOS Rebel T6 DSLR together with a basic 50mm lens all for just a couple hundred dollars. I chose the camera because it was cheap and thus not a heavy loss if I succeeded in bricking it, and I'm already comfortable with a similar Canon model. The lens I mainly chose based on advice in a Veritasium video on ultraviolet photography to use a "fast" lens with few optical elements and a wide aperture, and UV photography is a possibility I wanted to keep open.
At home, I carefully began disassembly, admittedly without following along any existing guides. I hadn't found a step-by-step guide for this exact model and I'd taken apart (and put back together!) enough small electronics at this point to feel unafraid. Still, out of an abundance of caution, I developed a system of drawing pencil sketch diagrams of the camera assembly onto which I'd directly stick screws as they were liberated using double-sided tape. The main thinking here was to carefully track each screw so that different sizes wouldn't get mixed up. I've opened up my old Thinkpad T410 many times now, which has many different shapes and sizes of tiny screw, and each time I seem to come up with one less in the end.
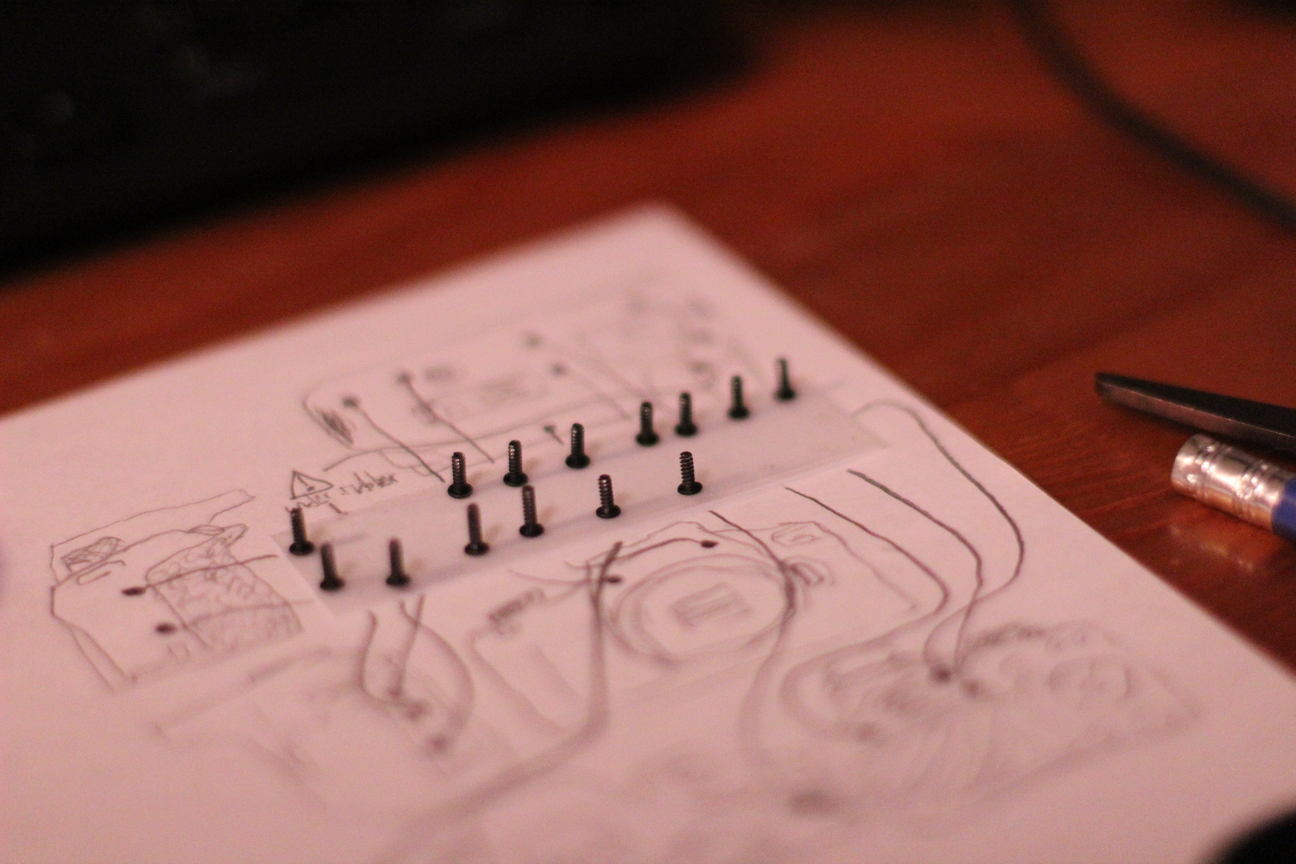
The stick-on screw pencil diagram method with a distasteful amount of depth of field thanks to the new 50mm lens. Yes, the screws are all the same size and shape, defeating the need for this level of caution.
Opening the camera body went smoothly up to a point, since virtually all the body screws were easily visible and used a standard crosshead. But when I tried to pry it open, something internal kept catching and felt sickeningly like it was going to snap if I kept spudging and levering. Eventually I found the last body screw under the glued-on rubber grip at the front of the camera. With that, the body came apart easily and I was greeted by a green PCB and many tiny flex cables.
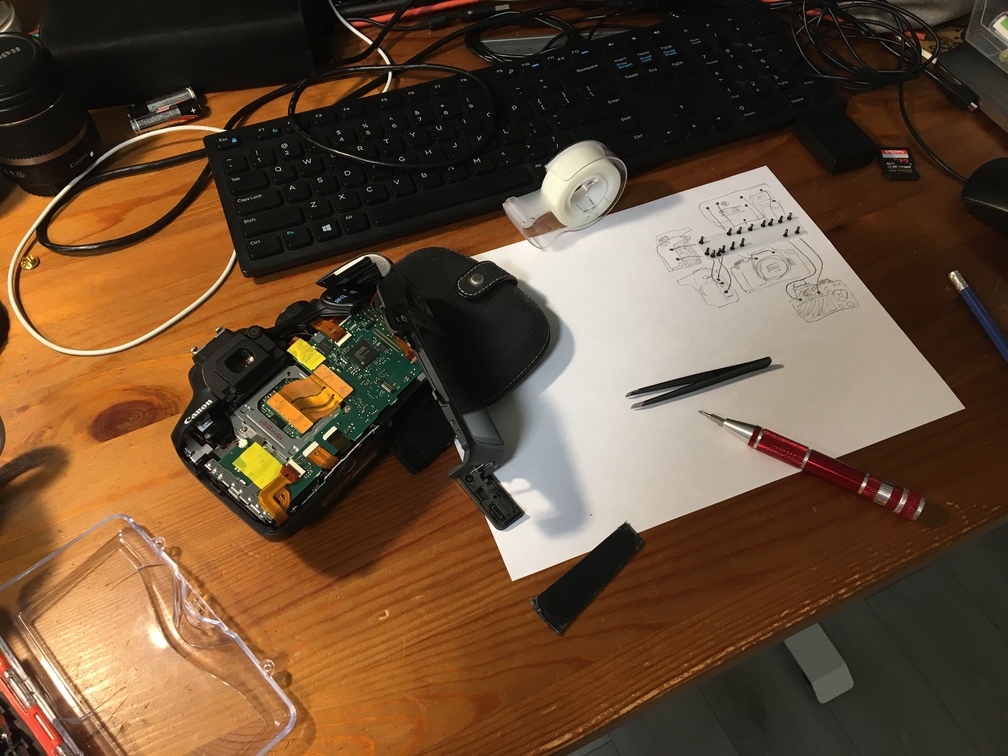
The open camera body. This is how my desk looks when it's clean.
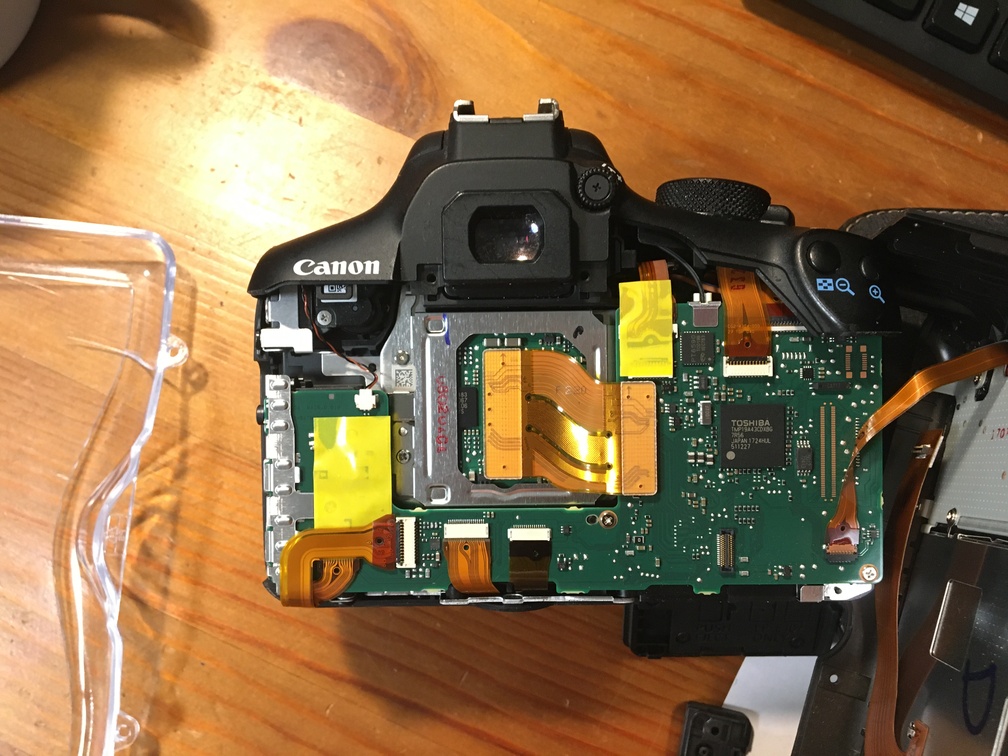
Close-up of the outermost PCB.
I don't have photos from the next few steps, but mostly it came down to carefully unseating the flex cables with tweezers, loosening the obvious screws on the PCB, and making my way towards the sensor assembly underneath. The sensor assembly itself involved removing a retaining plate of sheet metal with curious coiling appendages. I suspect each coil offers some calibrated amount of flexibility to prevent stress through the image sensor once the screws and bolts are tightened, but that's just speculation.
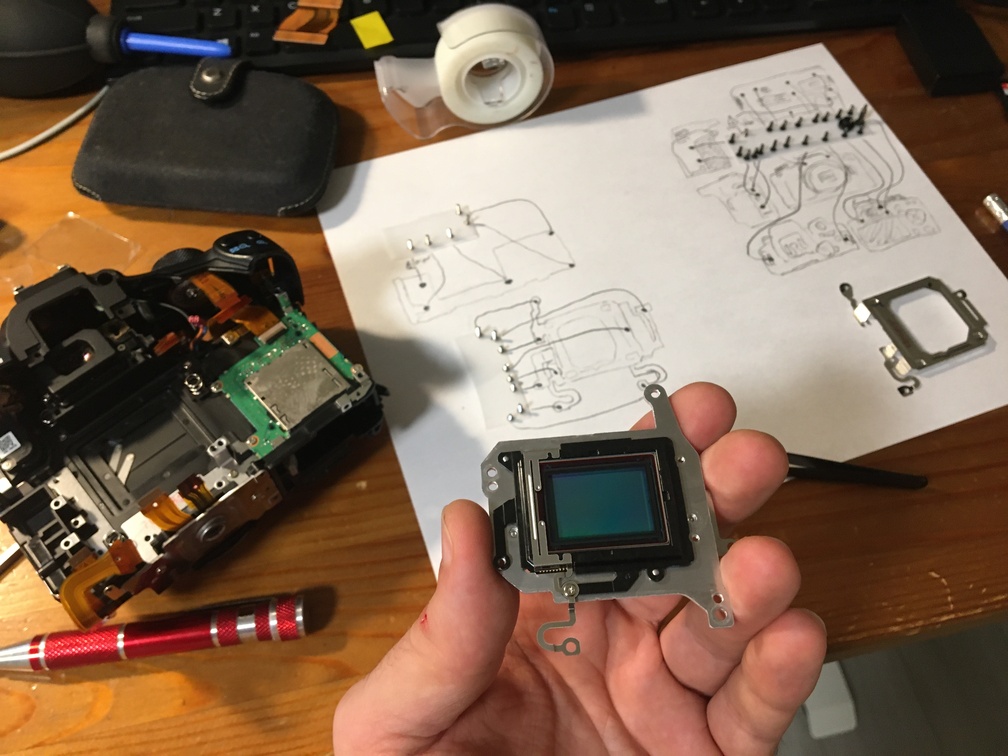
The (almost) naked image sensor in my hand after freeing it from the camera body under the main PCB. The backing plate and some hints at its reassembly can be seen on the paper behind.
It's at this point that we can finally appreciate what this whole operation is really about. The image sensor itself is sensitive to visible light, but also to some amounts of invisible infrared and ultraviolet light. In order to take pictures that correspond to what our human eyes see, the camera manufacturer installs a pair of optical filters right in front of the sensor to block any incoming infrared and ultraviolet light respectively.
I'm here to take pictures that do not match what the human eye sees, so I'll be doing away with these.
If we angle the sensor to the light, we can see both these glassy filters over top.
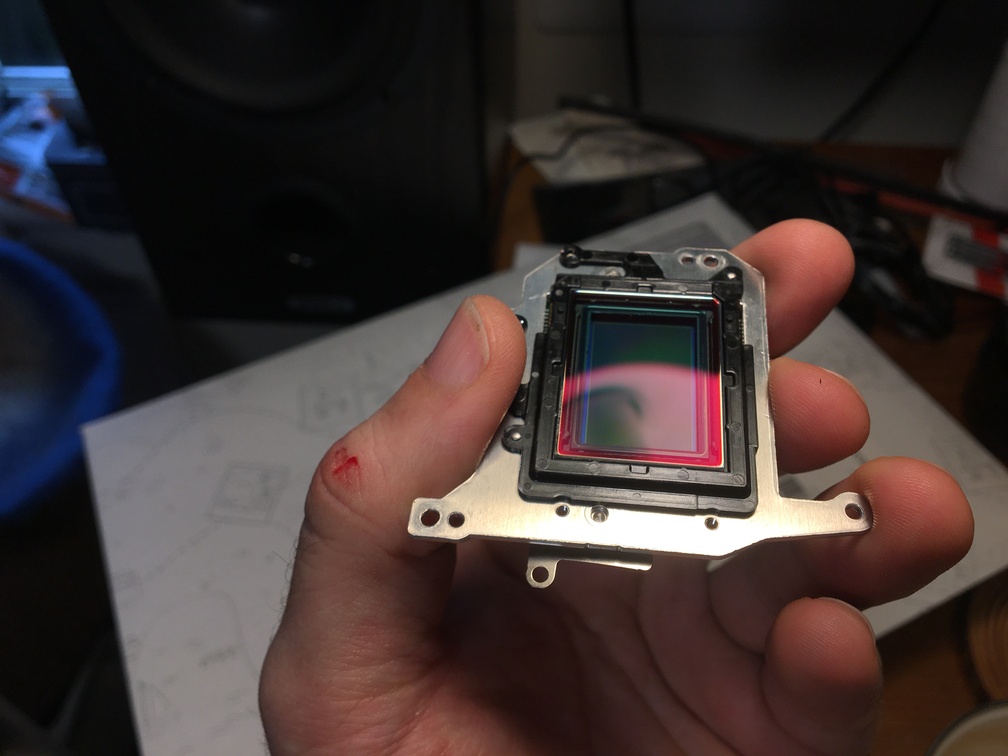
The image sensor with the UV and IR filters still in place. The wider sheet of reddish glass on top is the UV-blocking filter, and the cyan-tinted sheet of glass below is the IR-blocking filter. Underneath both is the actual image sensor.
In most of the guides I found for similar full-spectrum mods, people lament how these tiny glass optical filters like to shatter when you try to remove them. So I figured I would use abundant caution, carefully prying with the thinnest, softest wedges of plastic as spudgers and watching the adhesive seal ease itself loose slowly enough to avoid...
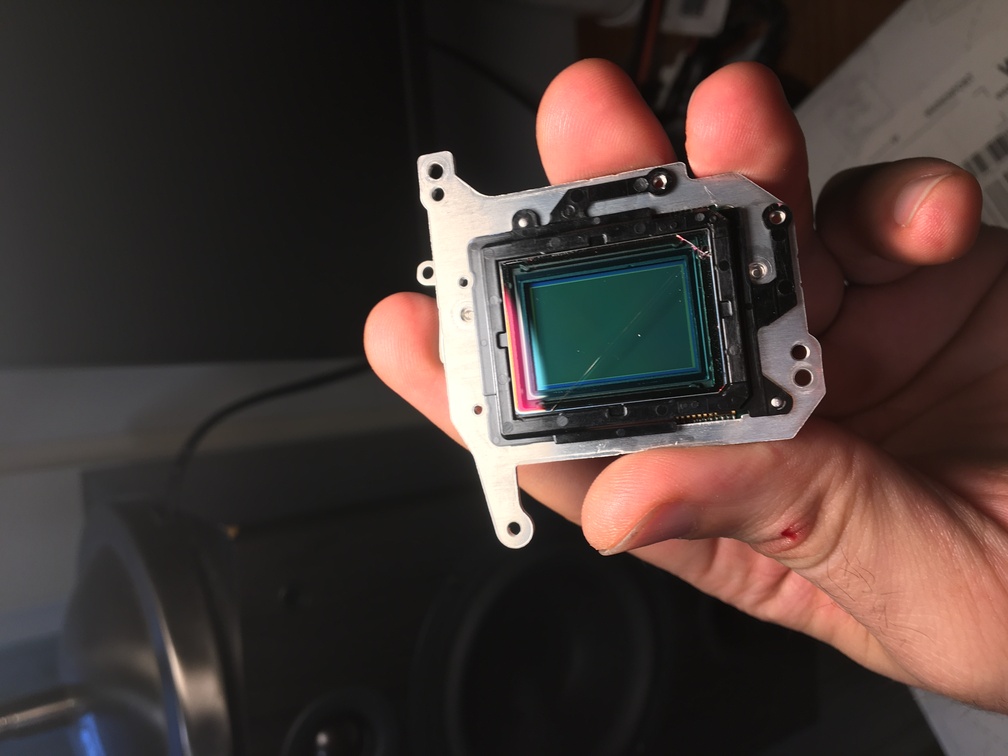
Yes, my sensor filters shattered too. Sigh.
It wasn't terrible that the filters shattered while I pried them loose, it merely meant I had a few grains of glass to clear off the naked sensor. I scraped off the remaining adhesive, taking care to never slip and scratch the sensor. Afterwards, I cleaned it gingerly using a Q-tip soaked in isopropyl alcohol.
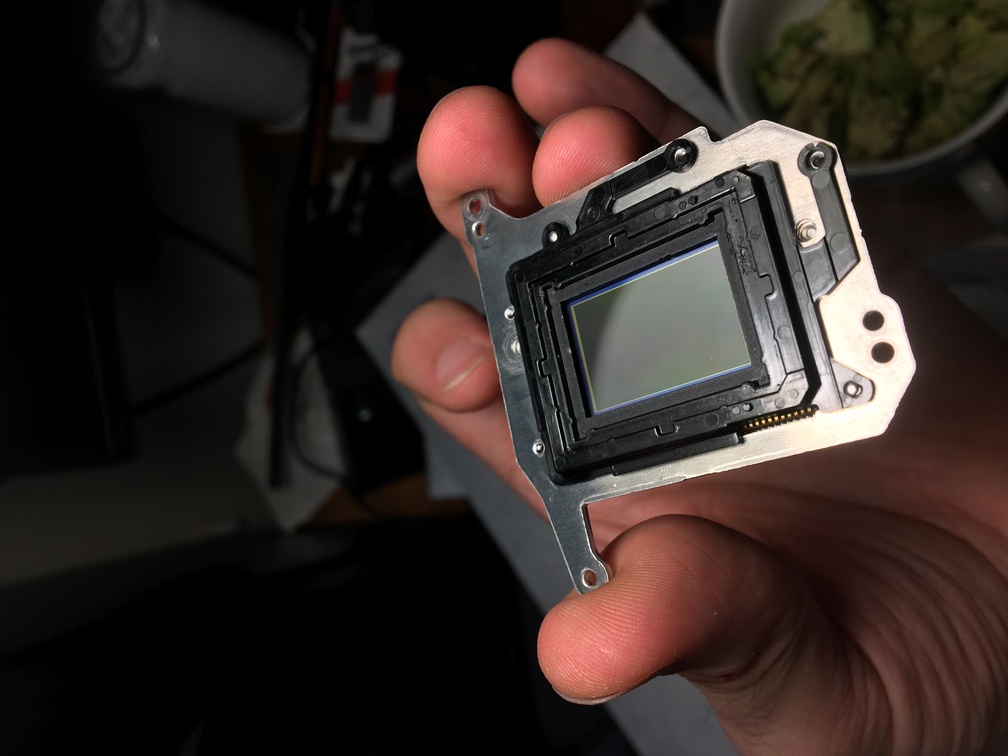
The image sensor now with the IR- and UV-blocking glass elements removed. #nofilter
It's a bit rare these days to see silicon lithography without a cap on it, but image sensors are just that. And the rainbow diffraction patterns and reflections up-close are just lovely.
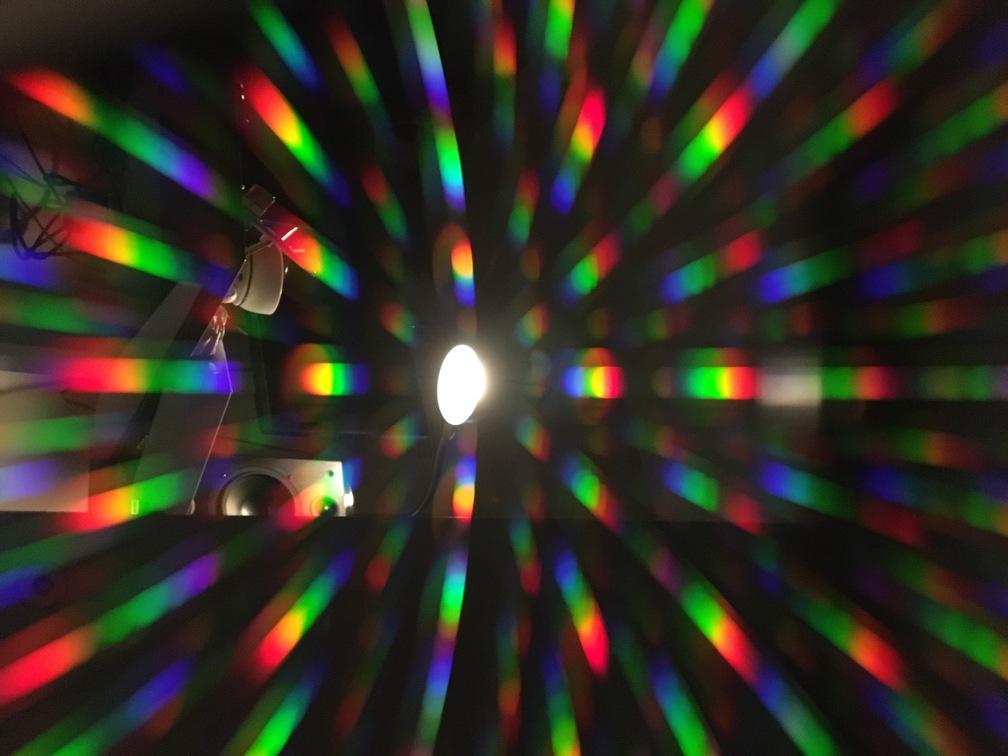
Extreme close-up of the image sensor reflecting light from a nearby lamp. The microscopic patterning on the sensor can make quite a light show.
From there, the reassembly went straightforwardly, thanks largely to the pencil sketch diagram system. Doing this in one sitting also meant that a lot of the geometry from the disassembly was still in short term memory.

Preparing to reassemble the camera. Hey, there are two kinds of screws! My system was worth it after all.

The image sensor assembly back in place on the camera body with its backing plate. The main PCB will be placed over top and the two will communicate once again via their flex cables.
The camera body came back together cleanly, and the rubber grip even had enough stickiness left under it to stay attached to this day. And the camera turned on again and still works! From the outside, there's no telling it apart from an unmodded camera so I took the liberty of painting on a weird rainbow that extends into unnatural pinks and blues.
With the sun setting and golden hour warming the tips of the trees outside, I wasted no time and got a few first shots in. At this point I wasn't using any white balance calibration or extra filtering, just the usual focus and exposure and letting the camera do its usual thing with whatever new light it saw.
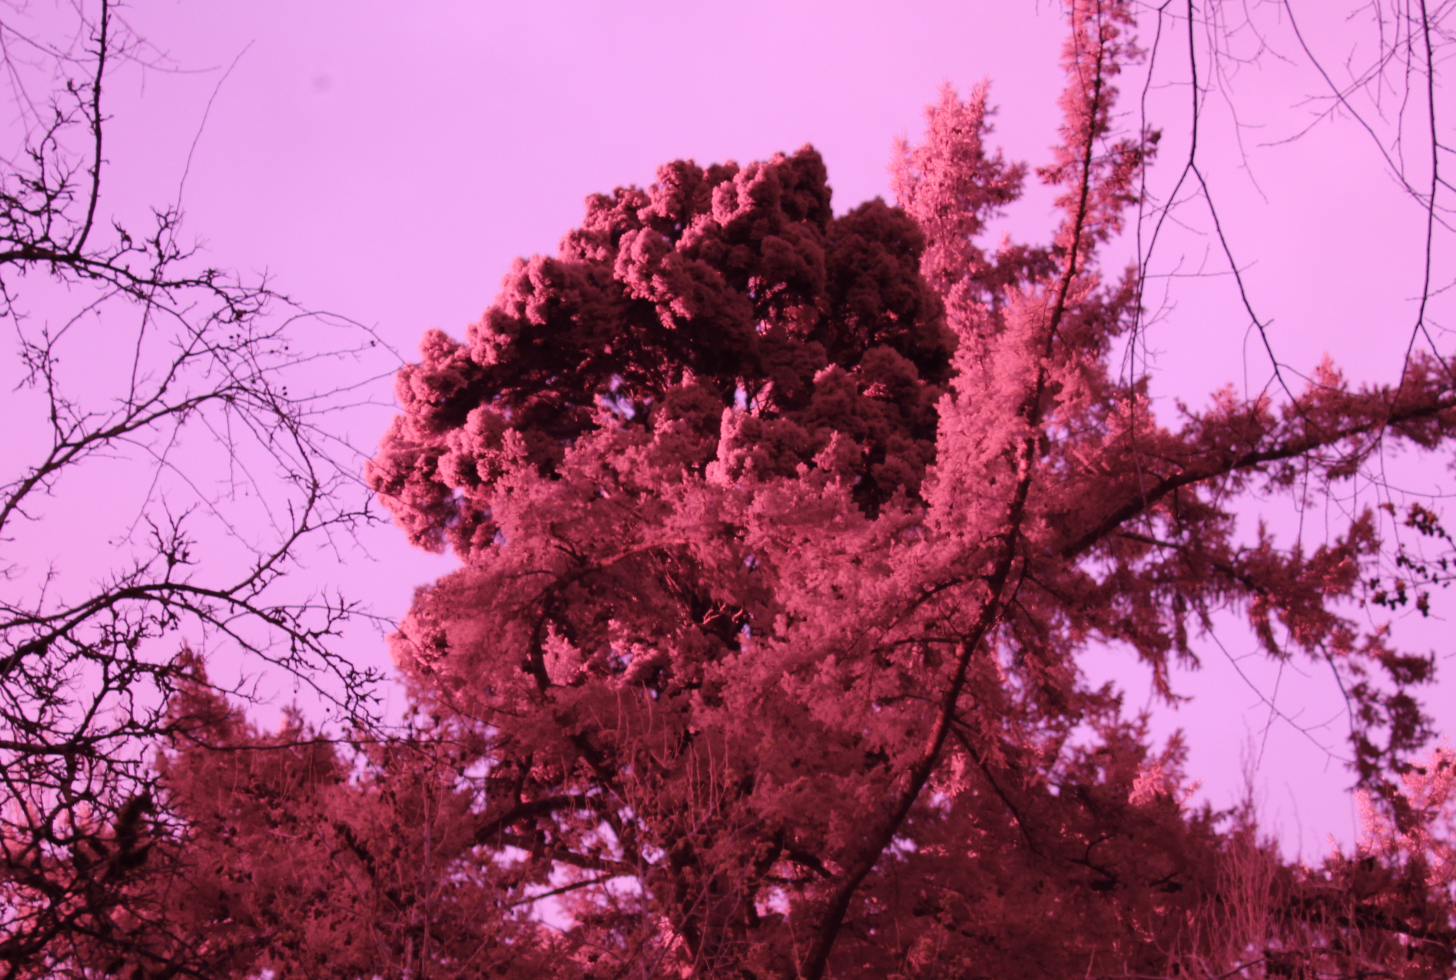
One of my first shots with the camera. This tree is actually green.

In the woods after sunset. There's a surprising amount of light to shoot with, whatever it is.
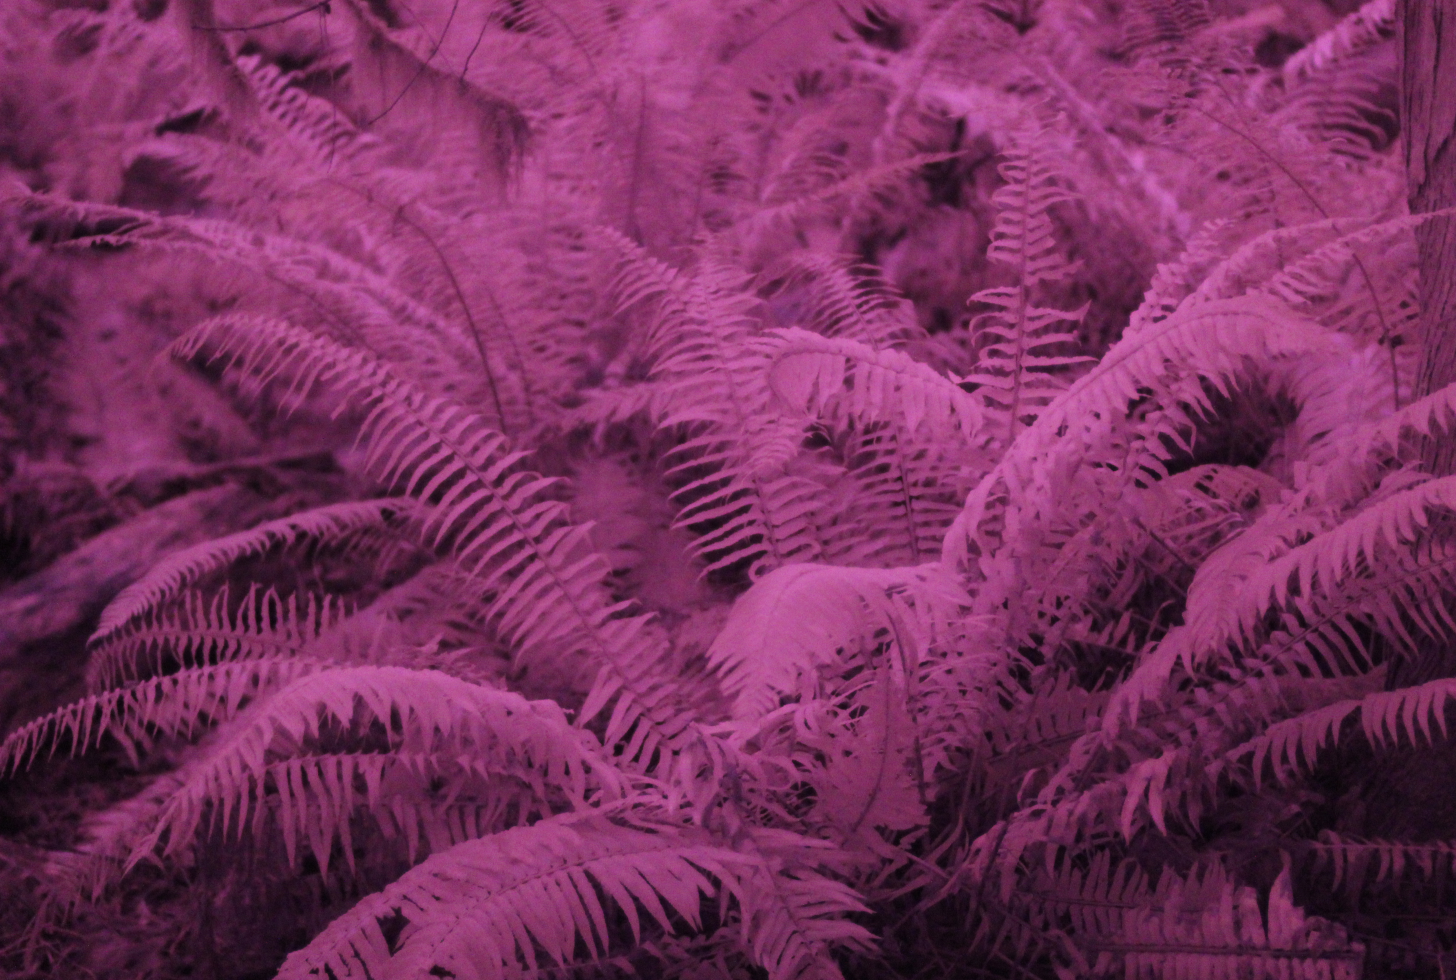
These sword ferns are actually dark green.
I've learned a ton about full-spectrum photography from practice since doing this mod. There are too many surprising things to cover in one blog post and so I'll be writing a series in the near future covering different phenomena with the attention they deserve.
For now, here's one of the first things that really surprised me. Is this photo in focus?
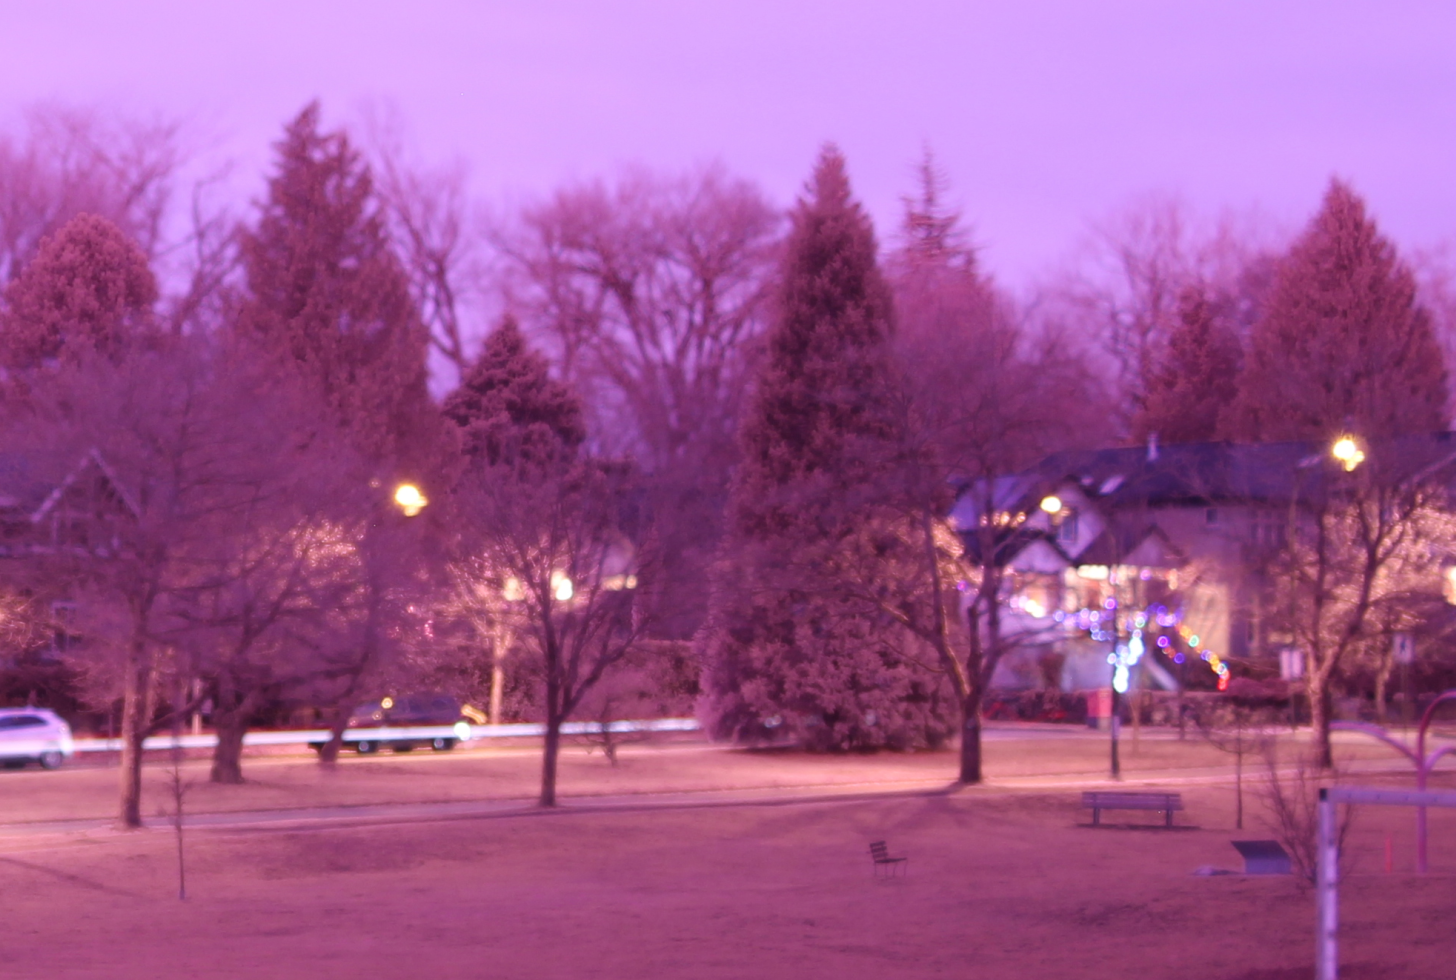
A distant shot of street trees at dusk, with some sodium vapour lamps and colour LED christmas lights, taken with the 50mm lens at full aperture. Everything is very far from the camera and would be expected to be similarly in or out of focus.
Trick question. Obviously the human-made light sources such as the street lamps and christmas lights are way out of focus. But the interiors of the conifers behind look sharp, as do the benches against the grass in front!
Recall that when light refracts into a lens, different wavelengths are sent along slightly different directions, as described in Snell's Law. In a camera lens, this causes chromatic abberation when different colours focus at different distances. Lens manufacturers are aware of this and try to minimize the abberation. But full-spectrum uses a wider bandwidth of colours than what these lenses were designed for.
When combined with a wide aperture, the additional wavelengths of light focus very differently, and subjects at the same distance to the camera can be in and out of focus at the same time if they're emitting or reflecting light differently.
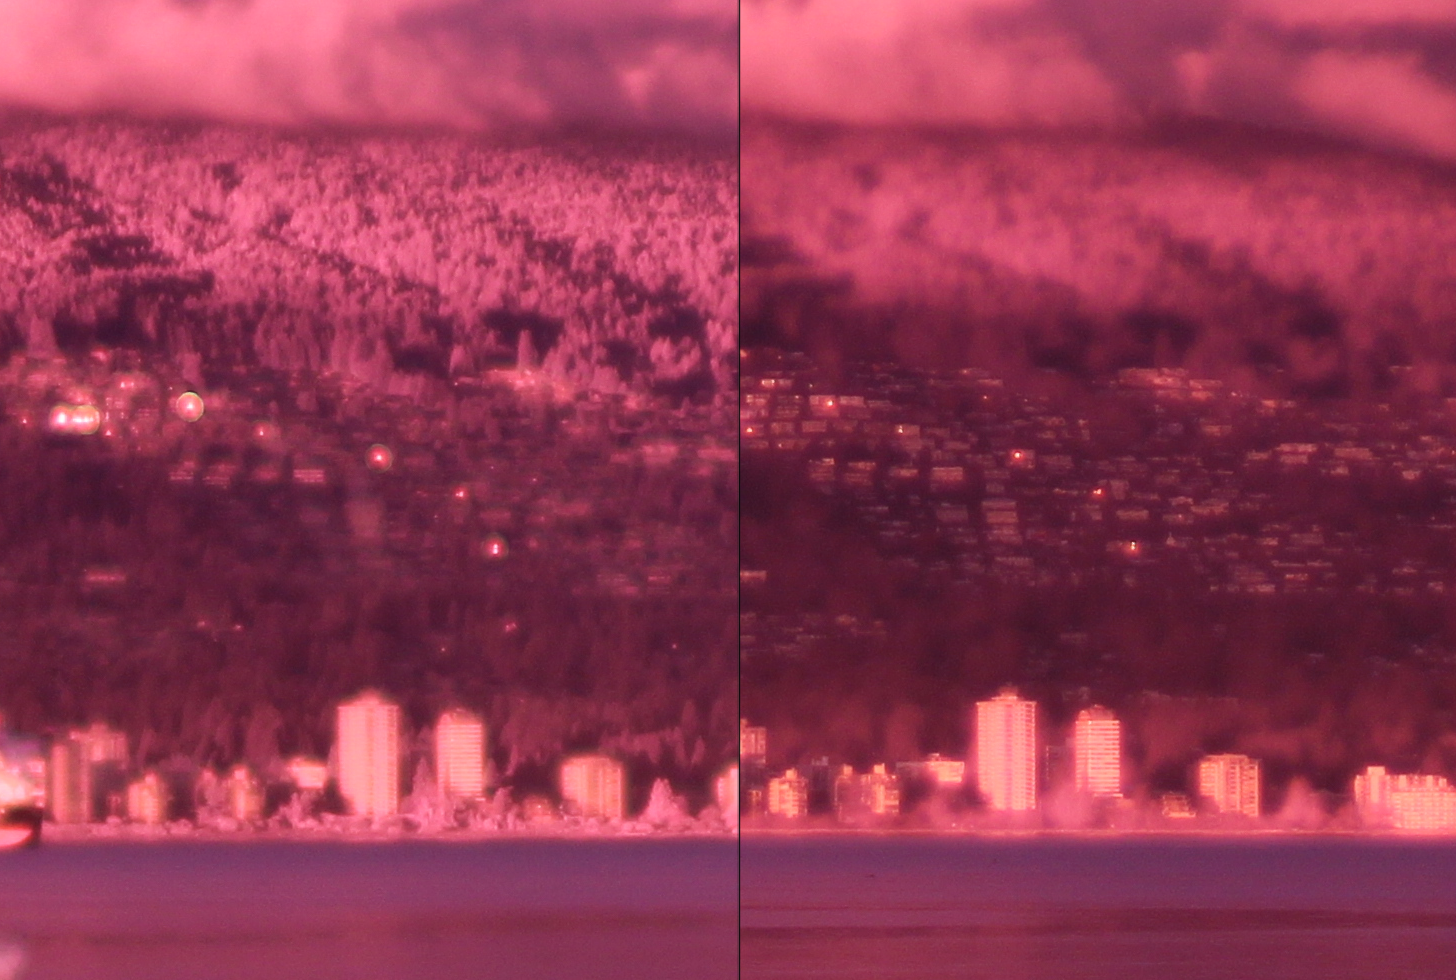
Two side-by-side full-spectrum shots of the same distant mountain neighbourhood at sunset, taken with different focal distances. On the left, the (actually green) trees are in focus while most features of the buildings are out of focus. On the right, the trees are completely out of focus while the same building details are now in focus.
But more on that in a future post.
Subscribe to my RSS feed.
Send me comments and questions via email.